01 — Mendline
Can this
be saved?
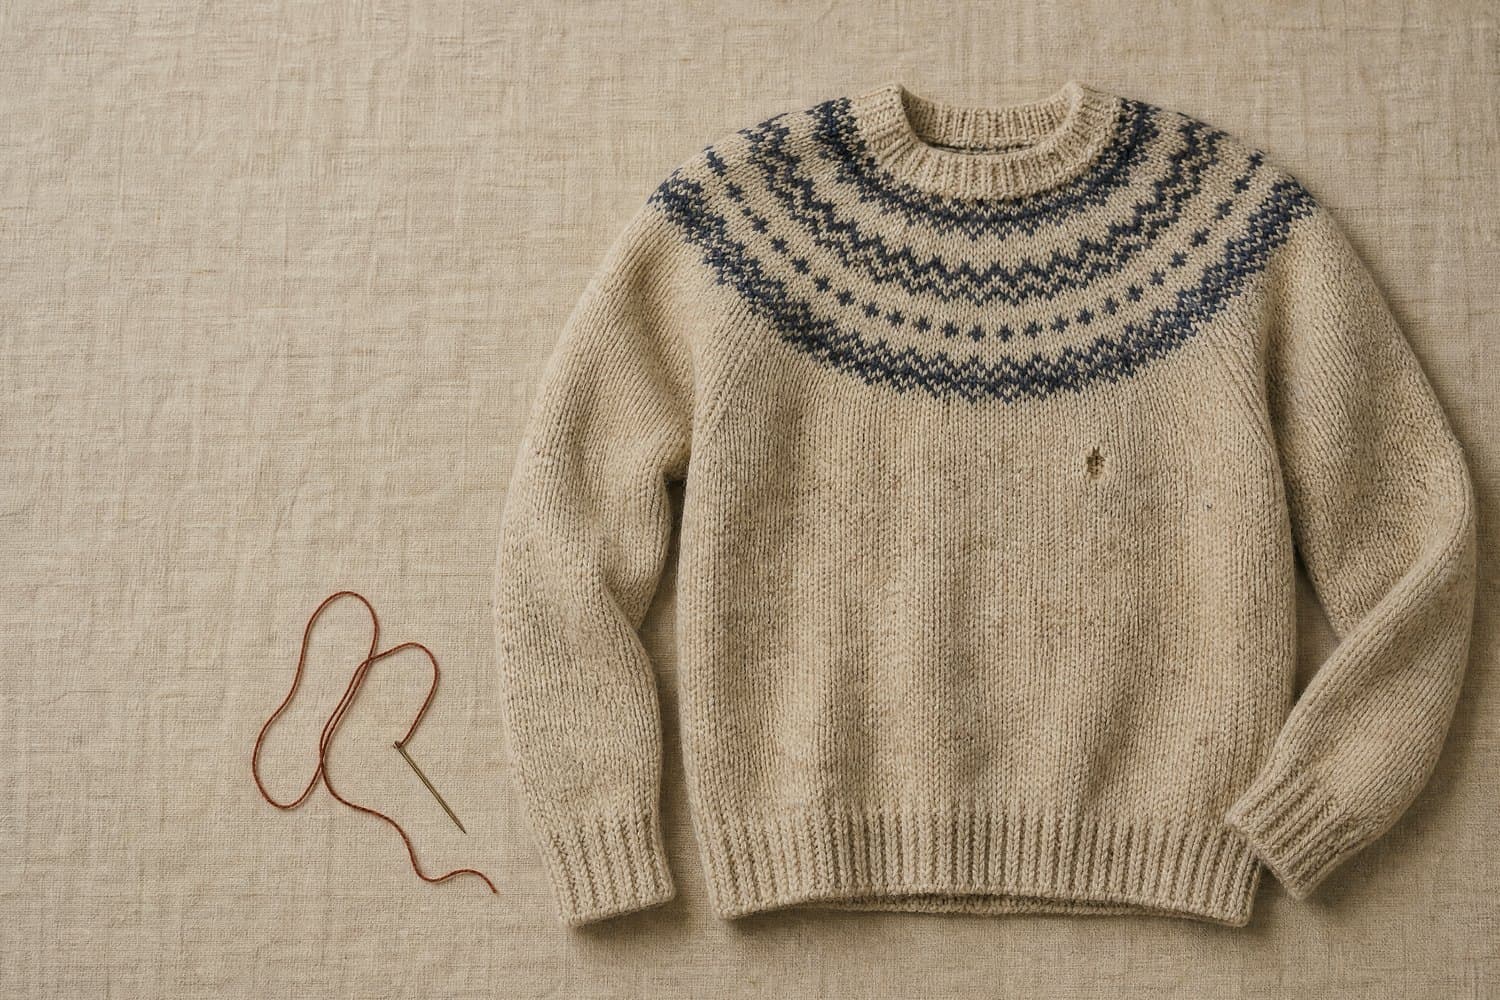
Photograph the damage. See four ways the same hole could be repaired, how visible each one is, which of them cannot be undone, and what the steps actually look like.
Every picture on this site is an illustration of an approach, generated from photographs. None of them is a photograph of a finished repair.
One moth hole · four repairs · 2 of them cannot be undone
Read what each one costs you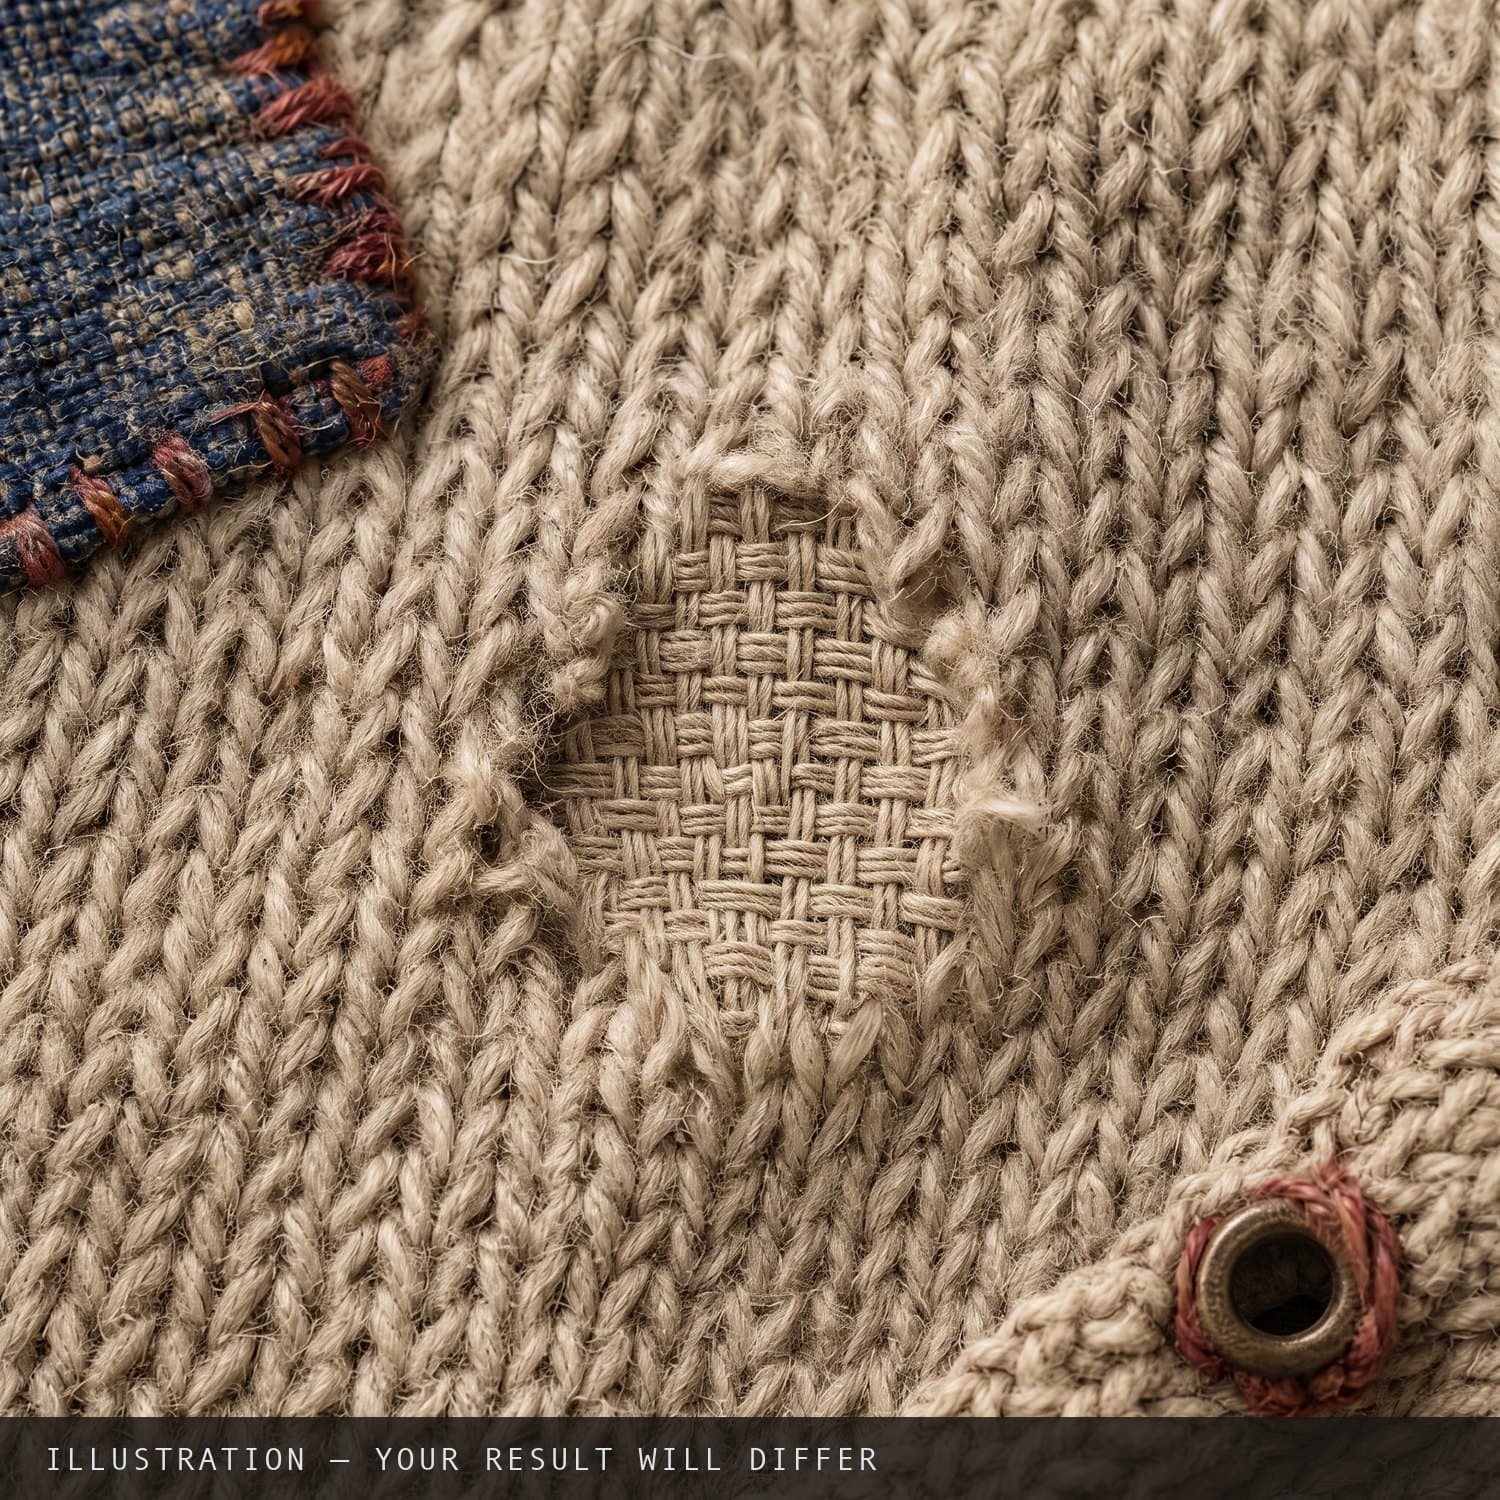
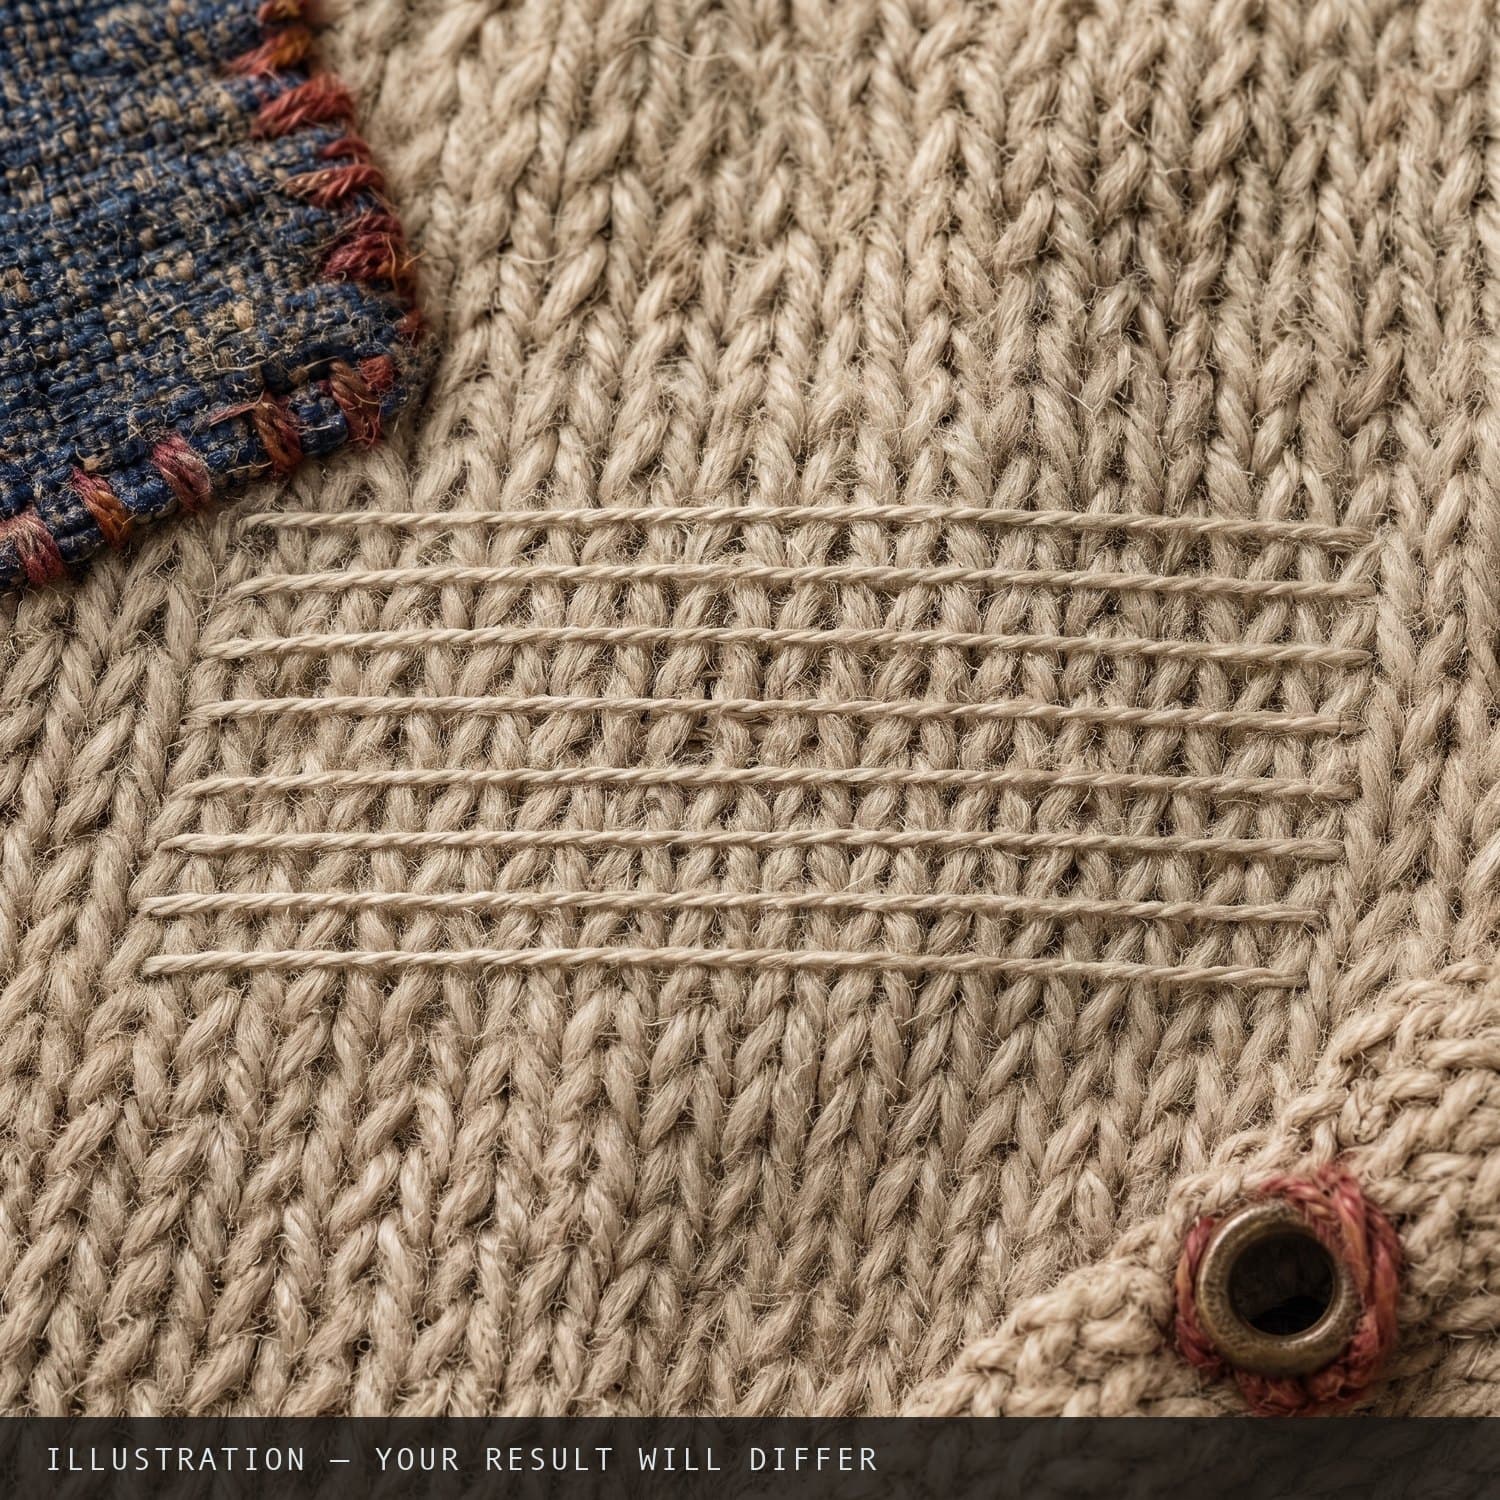
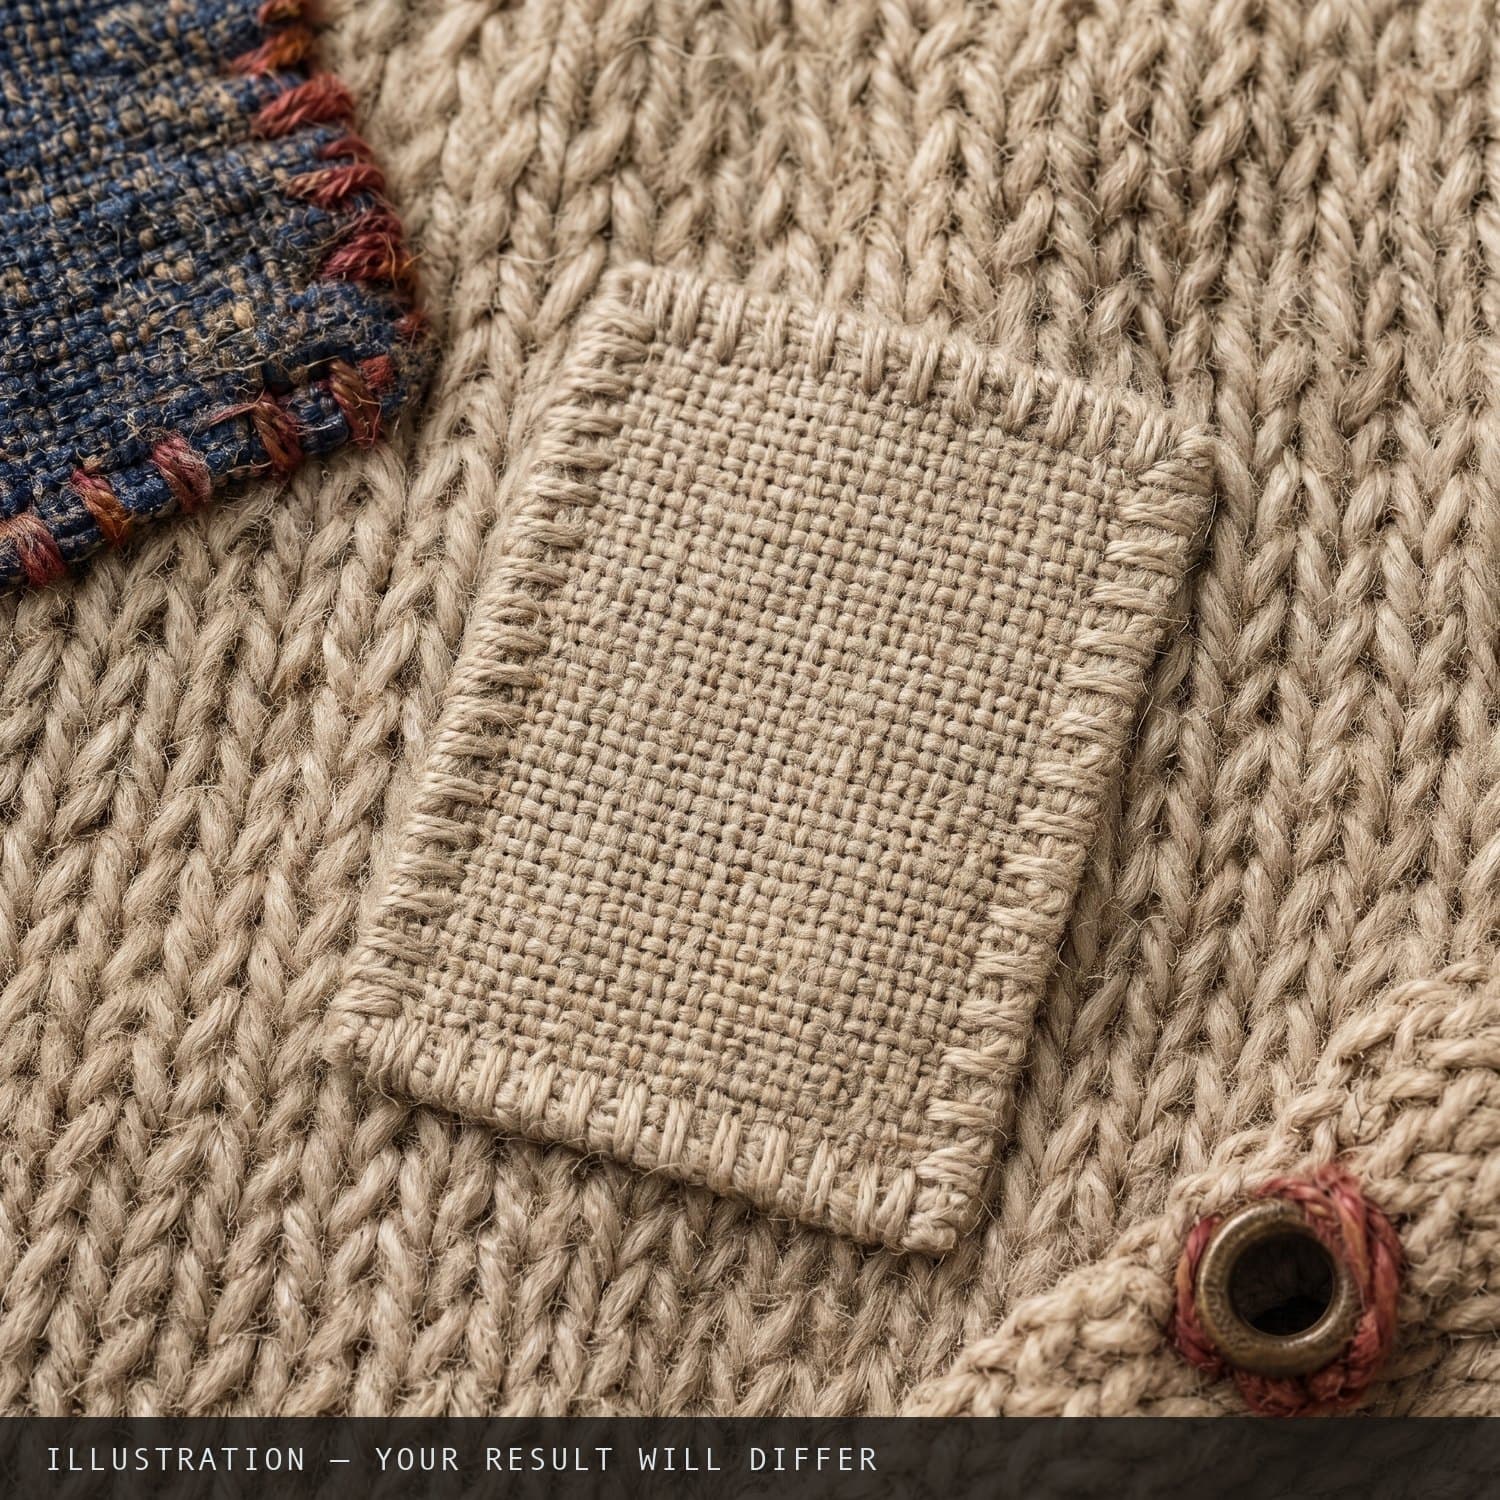
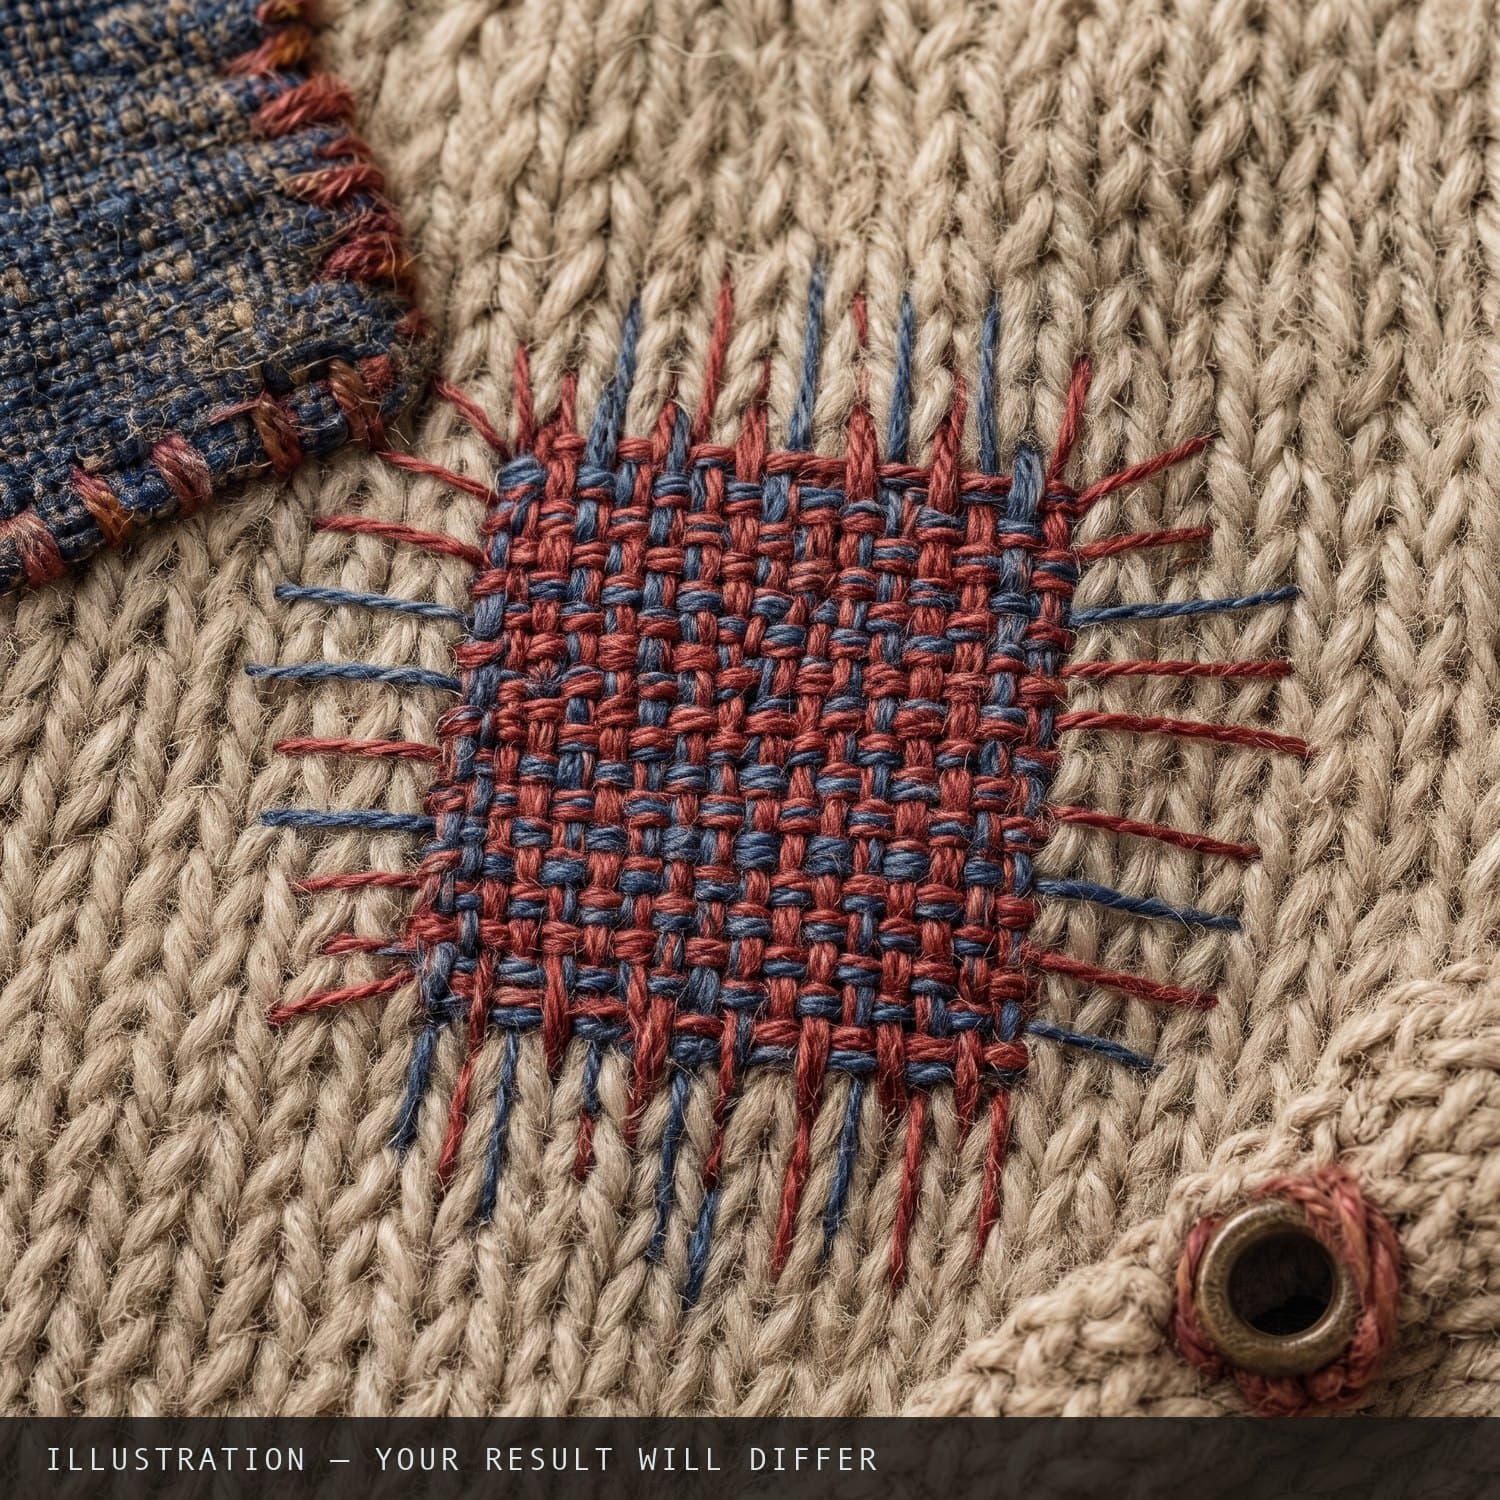
One hole, four ways
The same moth hole in the same wool jumper, repaired four ways. What each one costs you if it goes wrong is printed beside it, not beneath it.
What each one costs you if it goes wrong
- aDarningReversible
Pulled too tight, the darn draws the cloth in and leaves a hard dimple that shows more than the hole did. Pulled too loose, it sags and catches. Both are picked out and redone — the garment is not worse off, only the afternoon is.
By hand 3 of 5. Slow rather than difficult. The skill is keeping tension even; the first attempt usually puckers.
- bStitched reinforcementReversible
Stitch across a thin area without supporting it and the needle perforates what is left, so the cloth tears along your own stitching line. That damage is real and darning is then the only way back. Test on a hidden part of the same garment first.
By hand 2 of 5. The easiest of the four by hand, and easier still on a machine. The difficulty is keeping the rows parallel.
- cPatchingNot reversible
Choose a patch stiffer than the garment and the cloth tears along the patch edge the next time it is stressed, which turns a small hole into a long tear. With adhesive, that is where it ends — the glue has already gone into the weave and the original surface is not coming back.
By hand 2 of 5. Straightforward to attach. The judgement is in choosing cloth that will move and wash like the garment.
- dVisible mendingNot reversible
Worked off-centre or at the wrong scale, it reads as a mistake someone tried to decorate, and because the contrast thread has marked the cloth you cannot quietly go back to an invisible repair afterwards. Plan the shape on paper before the first stitch.
By hand 4 of 5. The stitching is not harder than darning. Placing it so it looks intended rather than accidental is.
What it costs you if it goes wrong
This part of the site is deliberately colder than the rest of it. Nothing here is folded away, shortened, or written smaller than the part that sold you the idea.
a. Can it be undone
- DarningReversible
The darn is only thread. It can be picked out with a blunt needle and the garment returns to the state it is in now, hole included.
- Stitched reinforcementReversible
Unpicking is tedious but complete. What remains afterwards are the needle holes, which usually close up after a wash.
- PatchingNot reversible
A stitched patch can be unpicked, but the cloth beneath keeps the needle line and often a shadow where the patch sat. An iron-on or glued patch cannot be removed cleanly at all: the adhesive stays in the fibres.
- Visible mendingNot reversible
Technically the thread comes out. In practice the contrasting thread has usually marked the cloth around it and the surrounding fibres have been worked, so the garment does not return to how it looks now. Treat this as a decision you are keeping.
The marker is a shape and a word, never a colour. Printed in black and white it still reads, because the difference between these two states is the difference between losing an afternoon and losing the garment.
b. What this service cannot know
- 01The true condition of the fibres. A photograph shows the hole, not how brittle the yarn is a centimetre away from it.
- 02How far the wear extends. Thinning that has not opened yet looks identical to sound cloth on a screen.
- 03What the cloth is actually made of. Blends photograph like the fibre they imitate.
- 04How the garment has been washed and dried, which decides how the repair will move afterwards.
- 05Your hand. Two people working the same method on the same cloth do not get the same result.
Every preview you see is generated from photographs and carries that statement burnt into the picture itself. It is an illustration of an approach. It is not a photograph of your finished garment and it cannot become one.
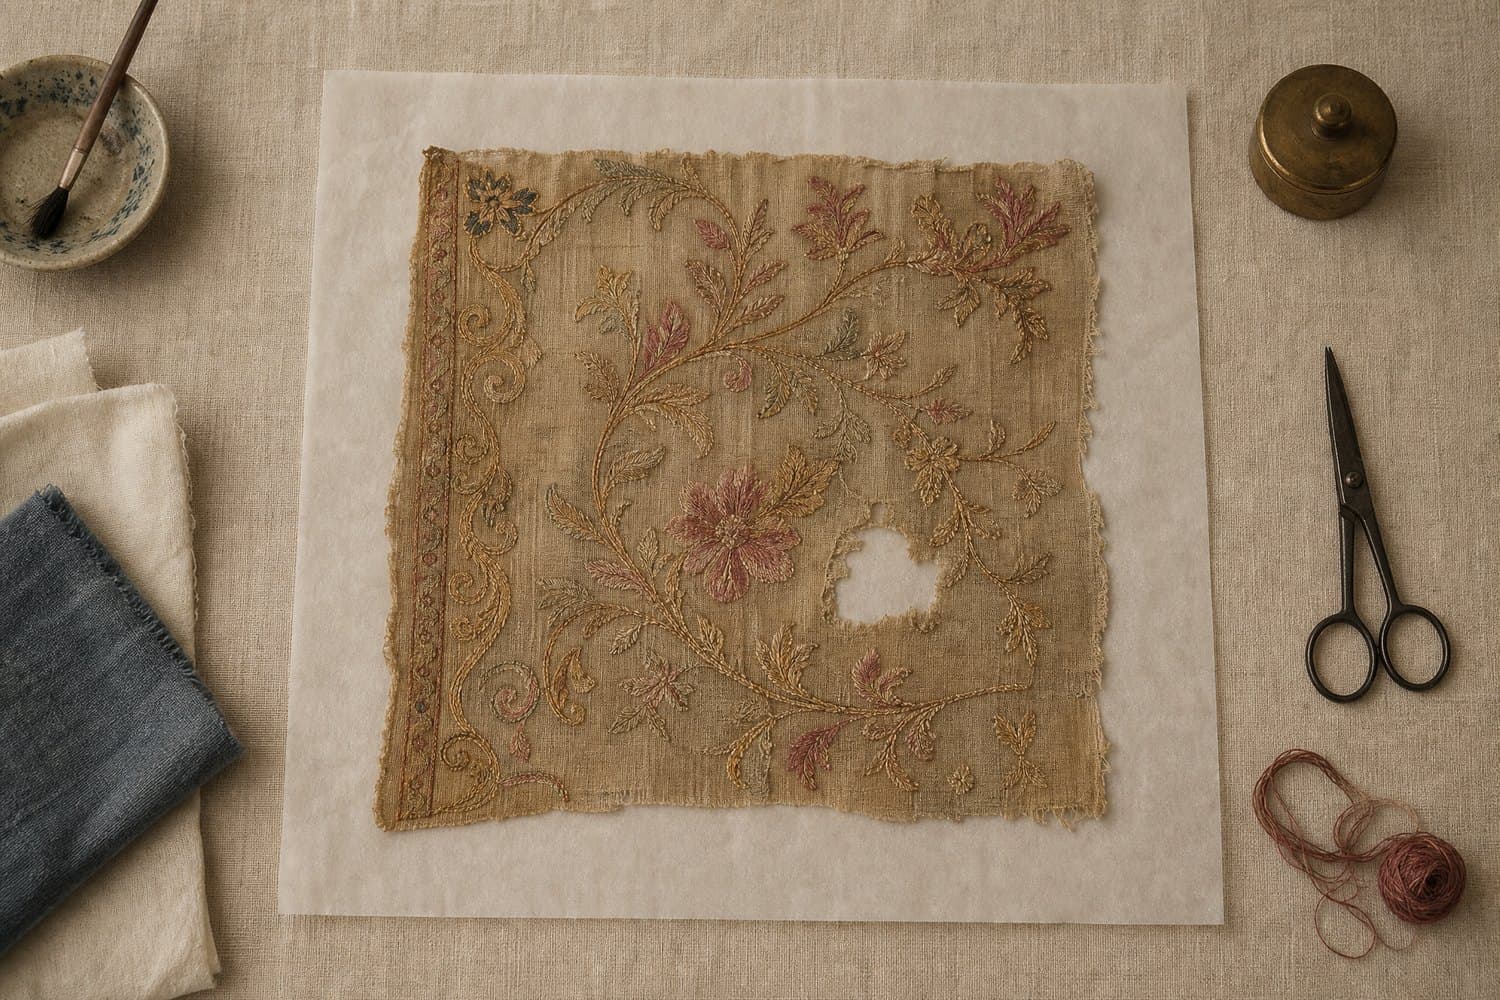
c. Things that cannot be replaced
For something you cannot replace, see a professional before doing anything yourself. A failed repair usually cannot be undone.
If what you describe is vintage, inherited, a wedding garment, leather, silk, embroidered, or something you tell us matters to you, this service still shows you the approaches and every risk attached to them — but it closes the step sequence for that garment and says so on screen. Walking someone through cutting into something they cannot replace is the one outcome nobody can put right afterwards.
How it goes
Three steps. The second one is free, and it is the one that answers whether the garment is worth the trouble.
 i
iPhotograph what happened
A close-up of the damage and a flat shot of the whole garment, plus one line in your own words about where it is and how it happened. Photographs of the garment being worn are not accepted — they tell us nothing useful about the cloth.
 ii
iiSee the four ways at once
The damage is read for type, weave direction, surrounding wear and where the garment is stressed. You get four repair previews side by side, a map of the stress points, and — at the same size, on the same screen — what each approach costs you if it goes wrong.
 iii
iiiWatch one of them being made
Choose a method and the step sequence unlocks: the repair forming on your damage, in the order it is worked, with the step numbers laid over the picture by this site rather than drawn by the model. Silent by default. No hands, no people.
What the doing looks like
The previews answer whether it is worth repairing. These answer whether you can do it. Flat garment only, silent, step numbers laid on by this site so they are never wrong. Three of the four are shown here; the fourth is generated in the workspace on the garment you upload.
Trim the loose fibre ends back to sound cloth
Press the area flat and square to the grain
Decide the finished shape before any thread is cut
Five kinds of damage
Told apart from the photographs you upload, along with weave direction, the wear around the damage, and where the garment is under load.
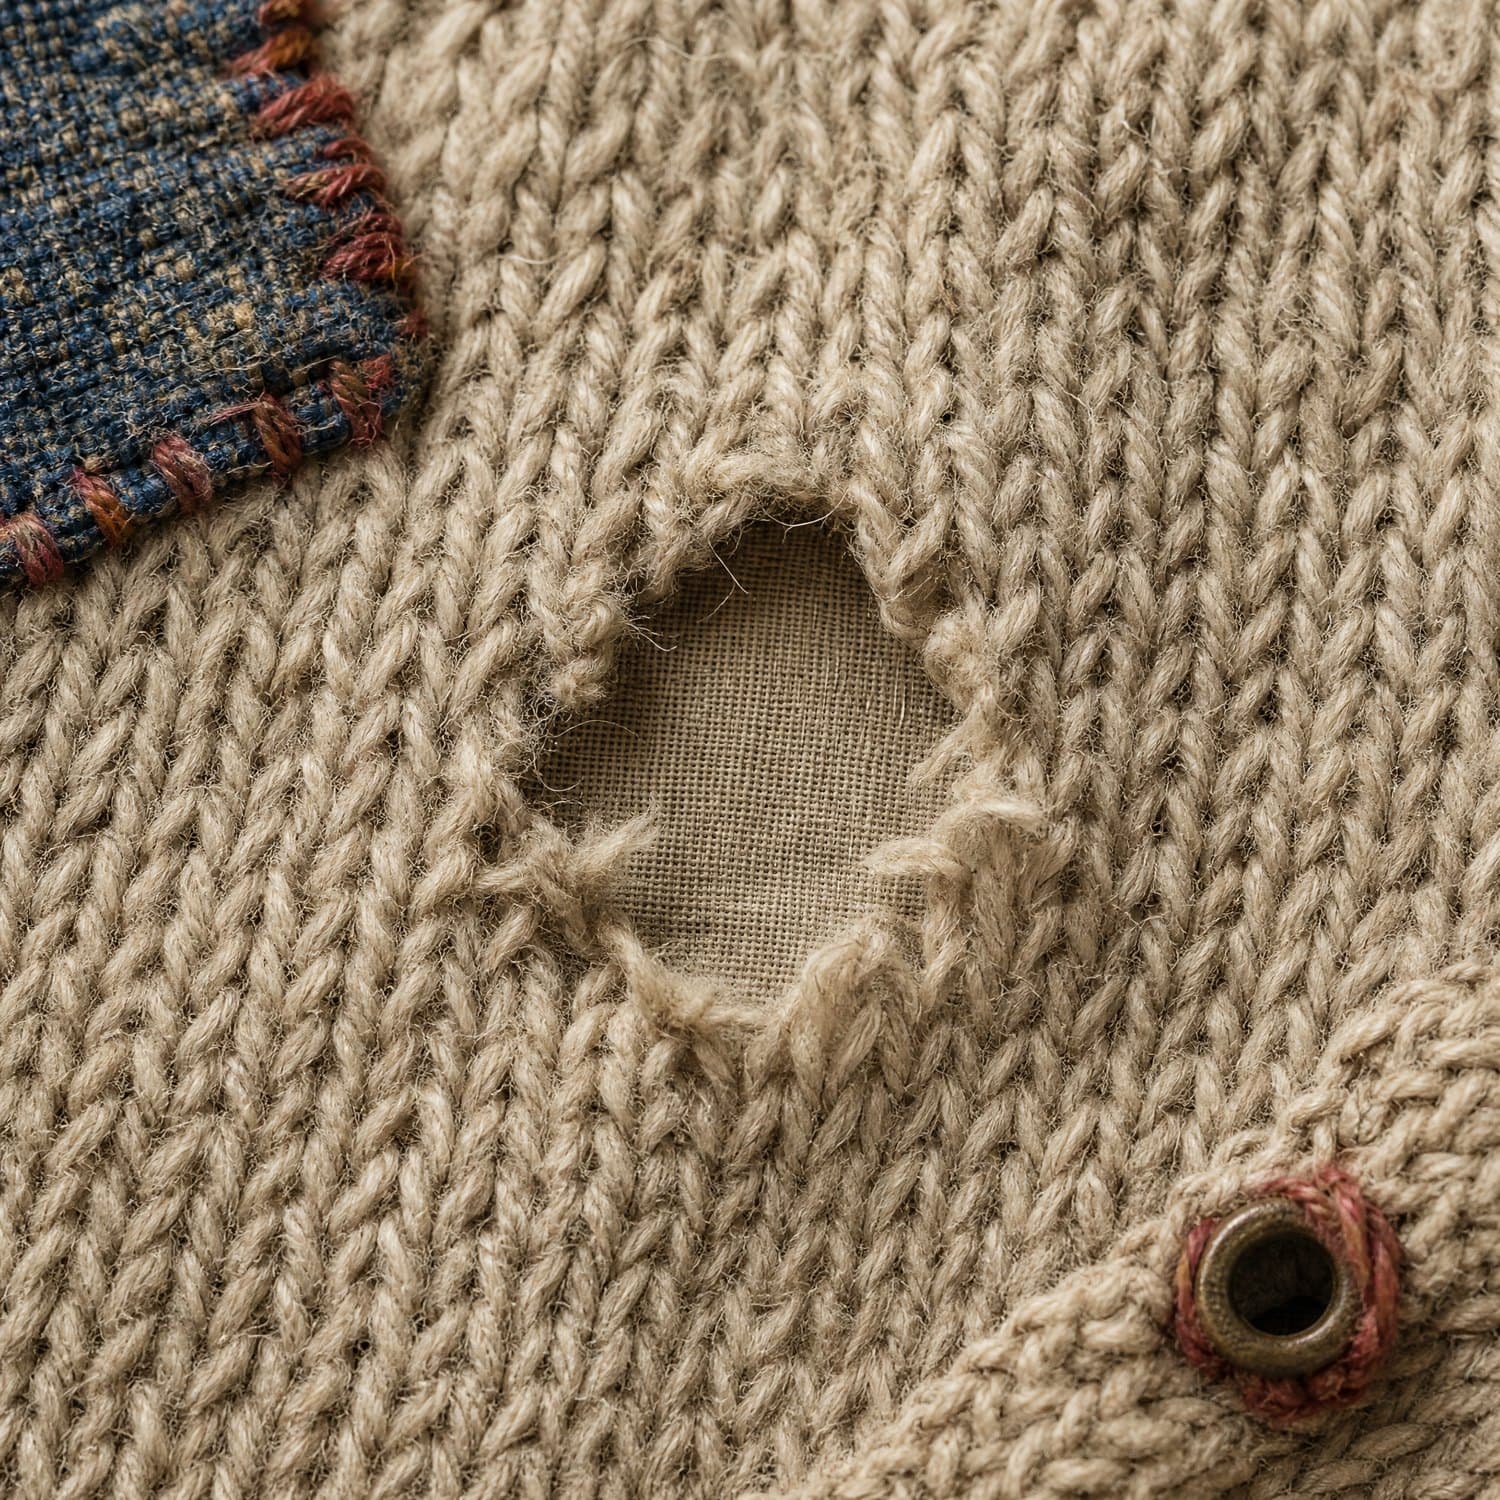
Hole
An opening with nothing left in the middle.
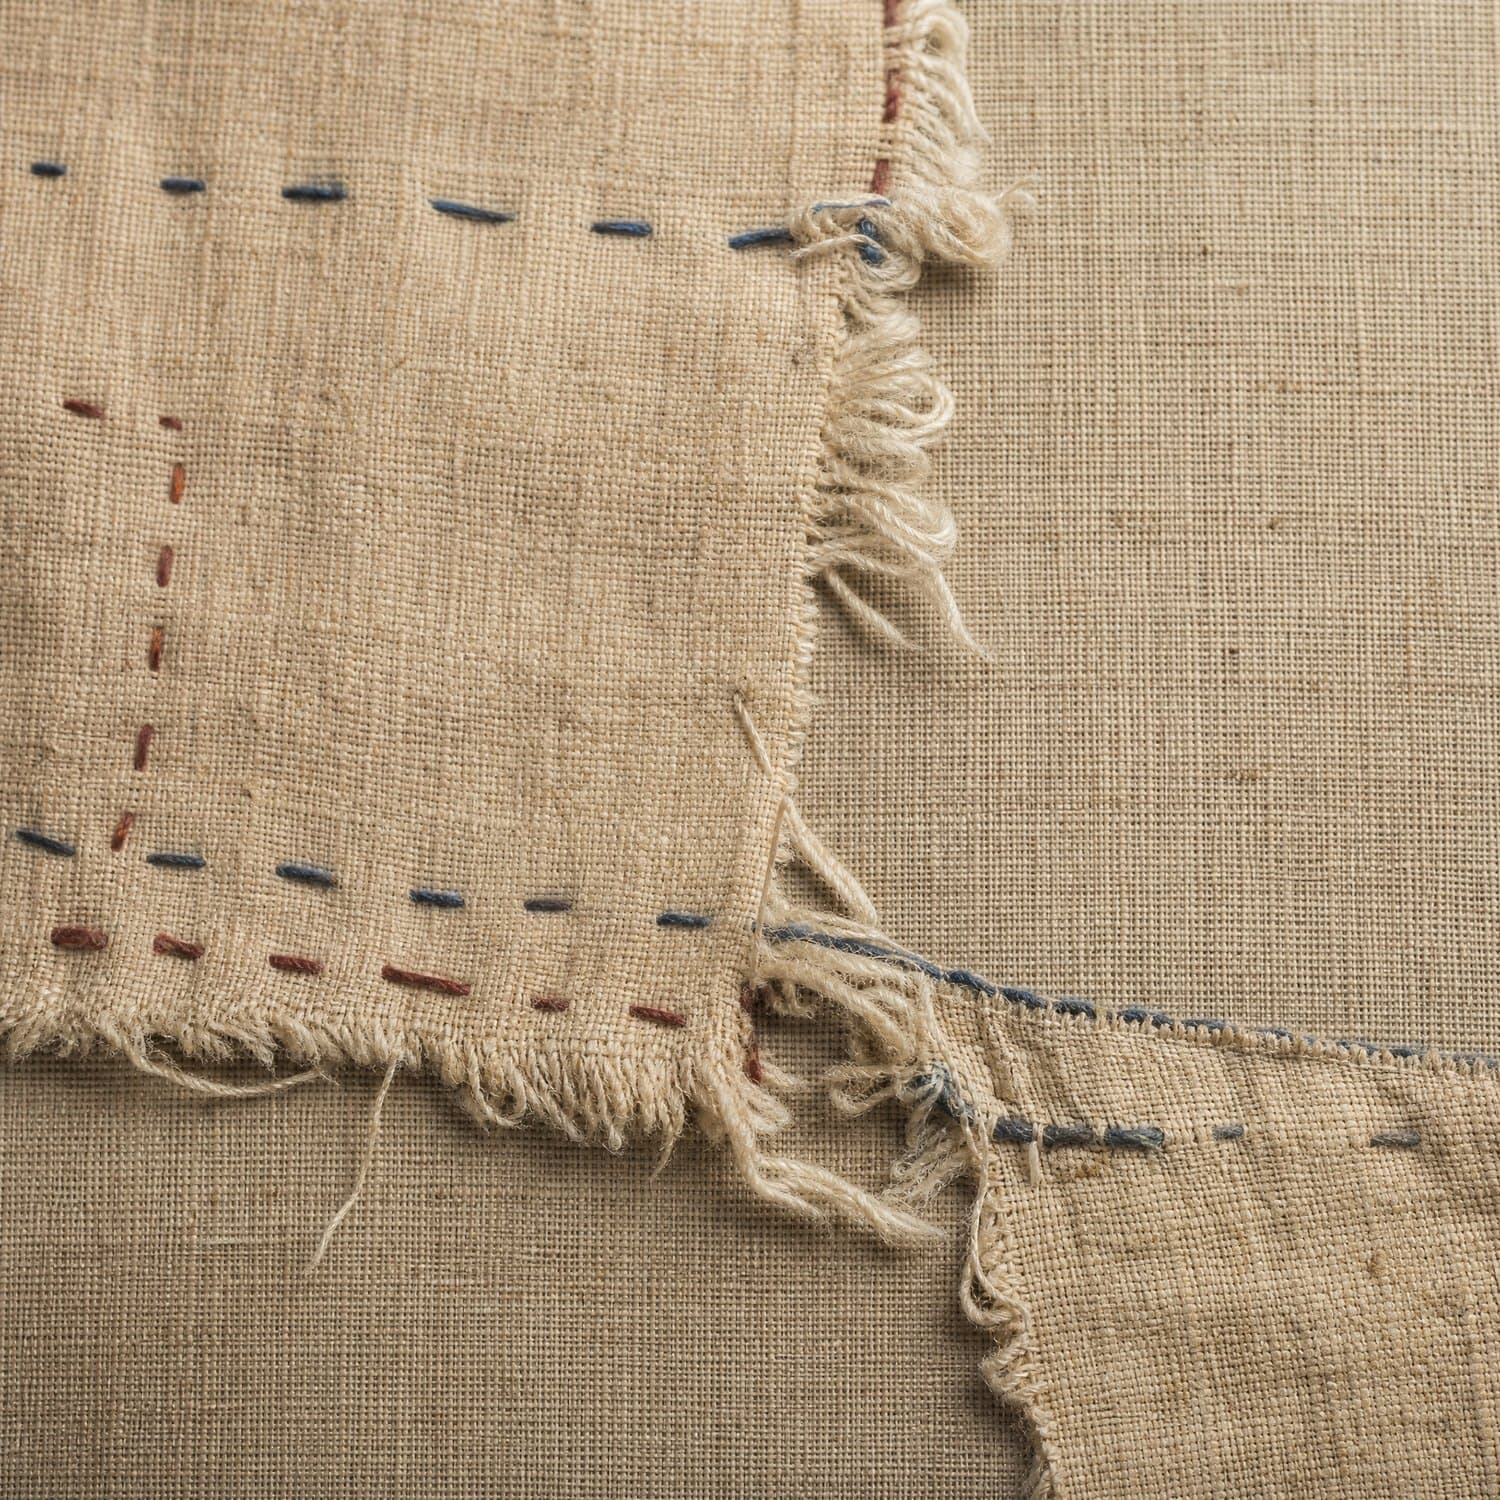
Tear
A split along a line, with the cloth still present on both sides.
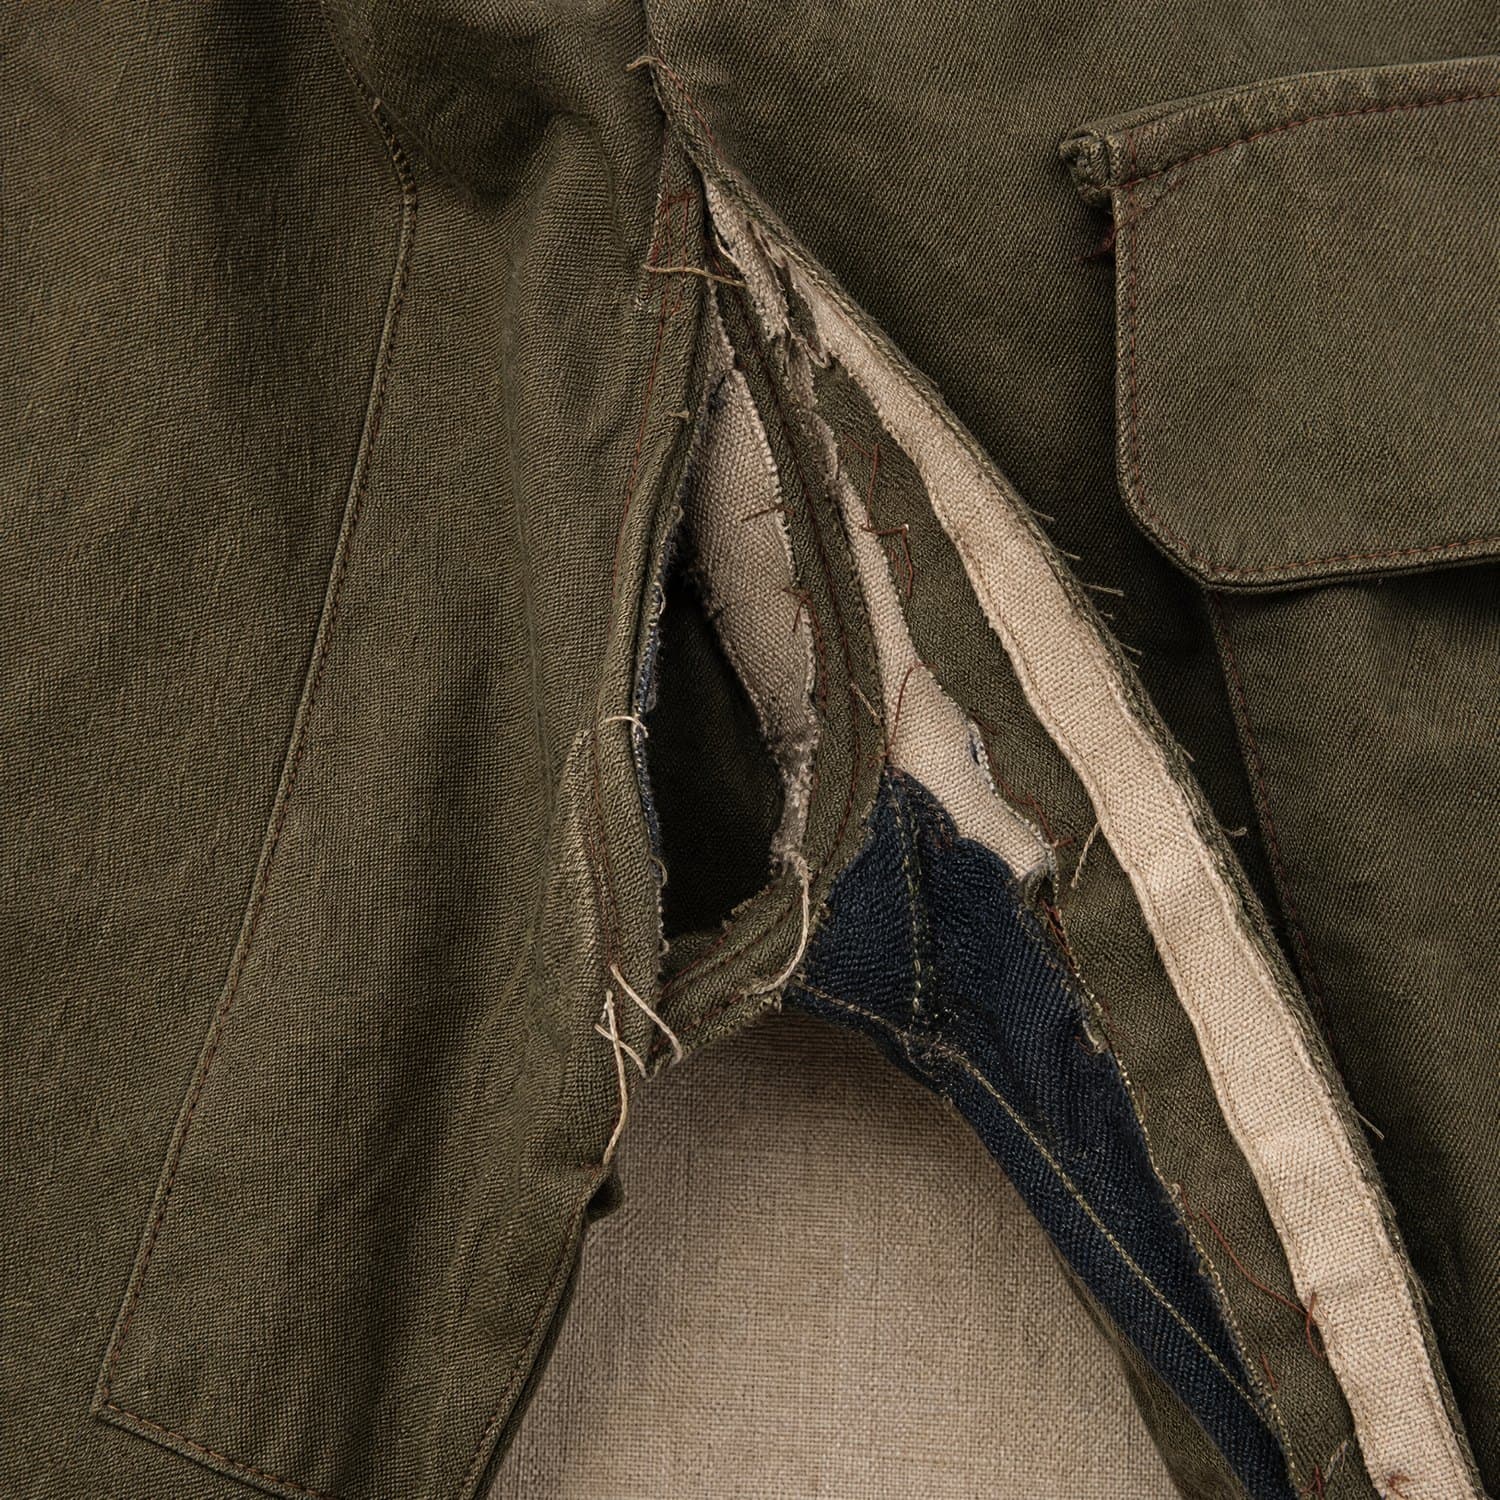
Split seam
The cloth is intact; the thread holding two pieces together has gone.
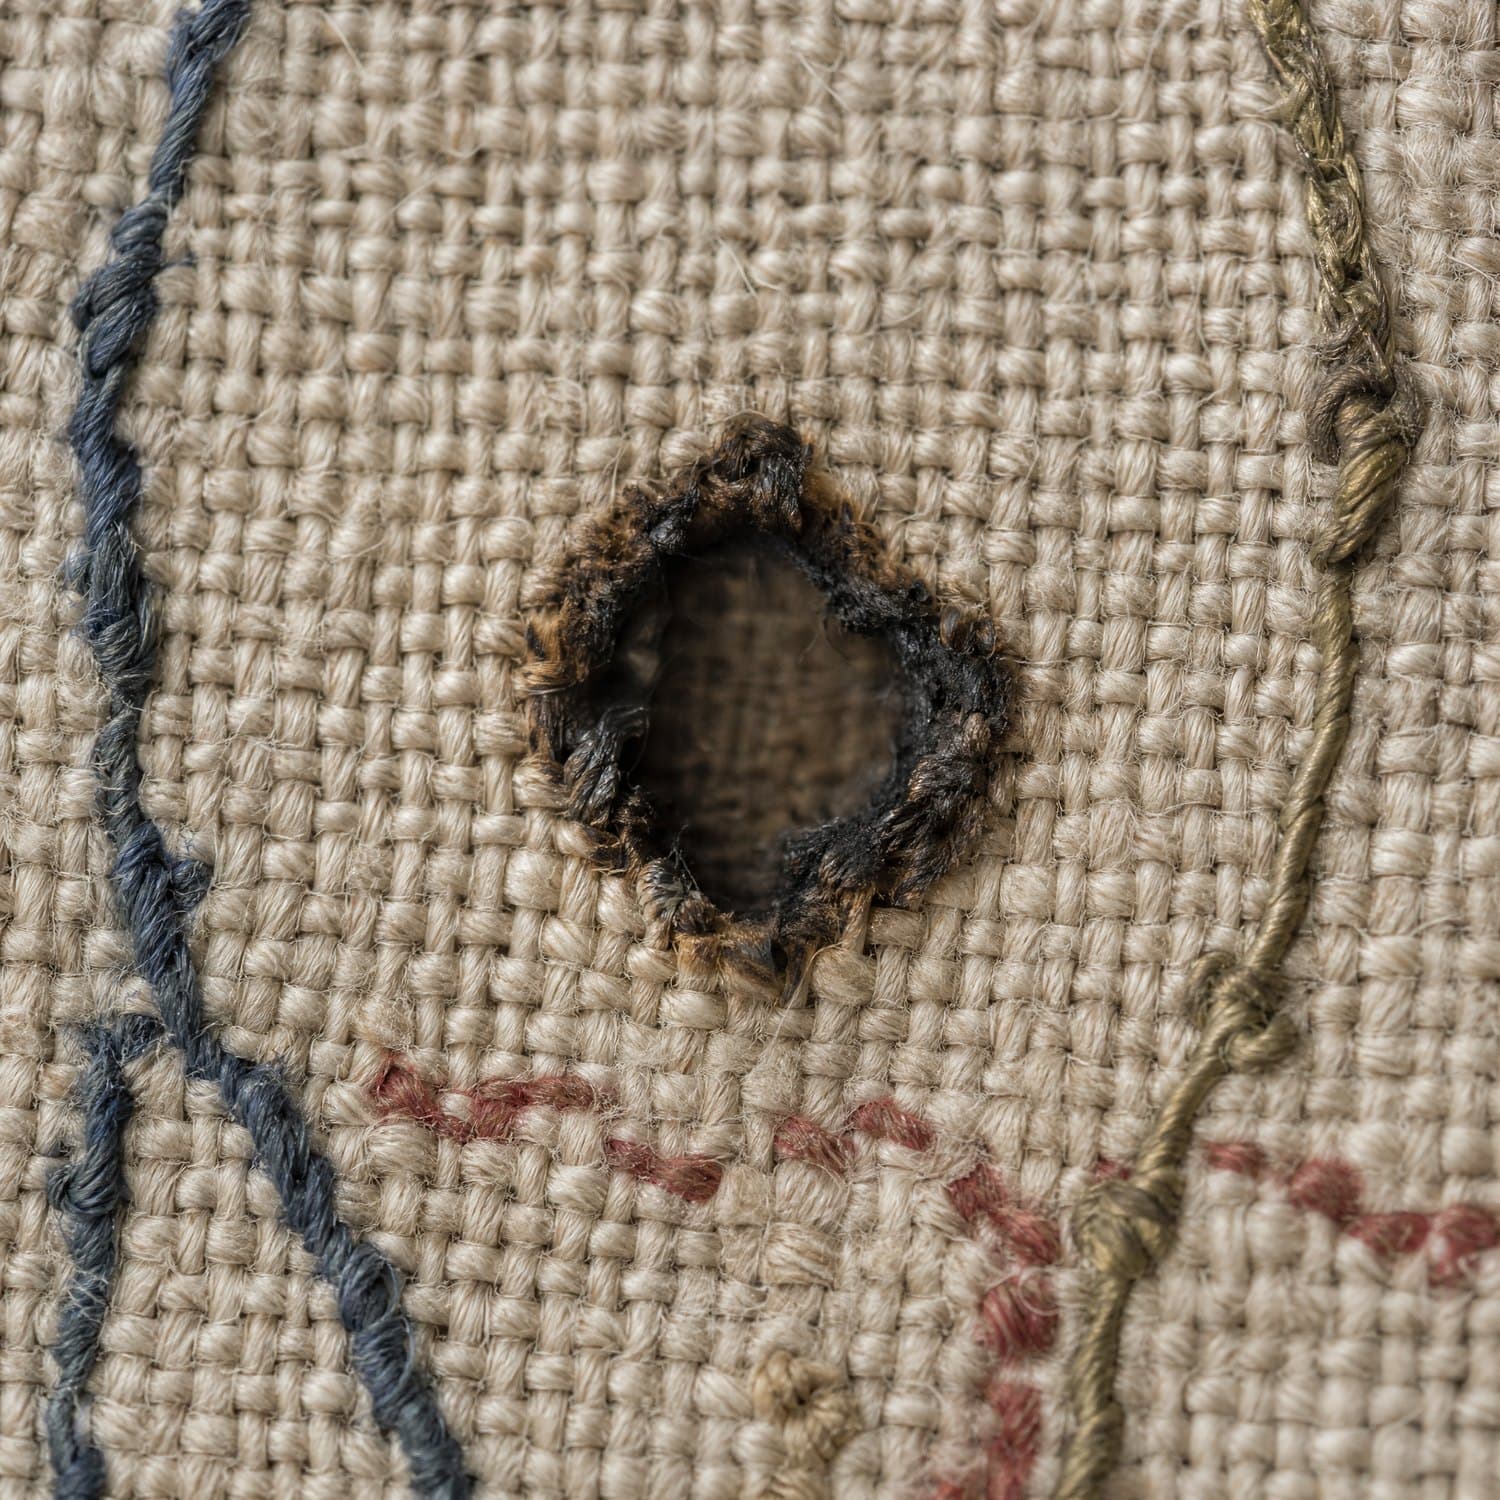
Burn
An opening with a hardened, weakened rim around it.
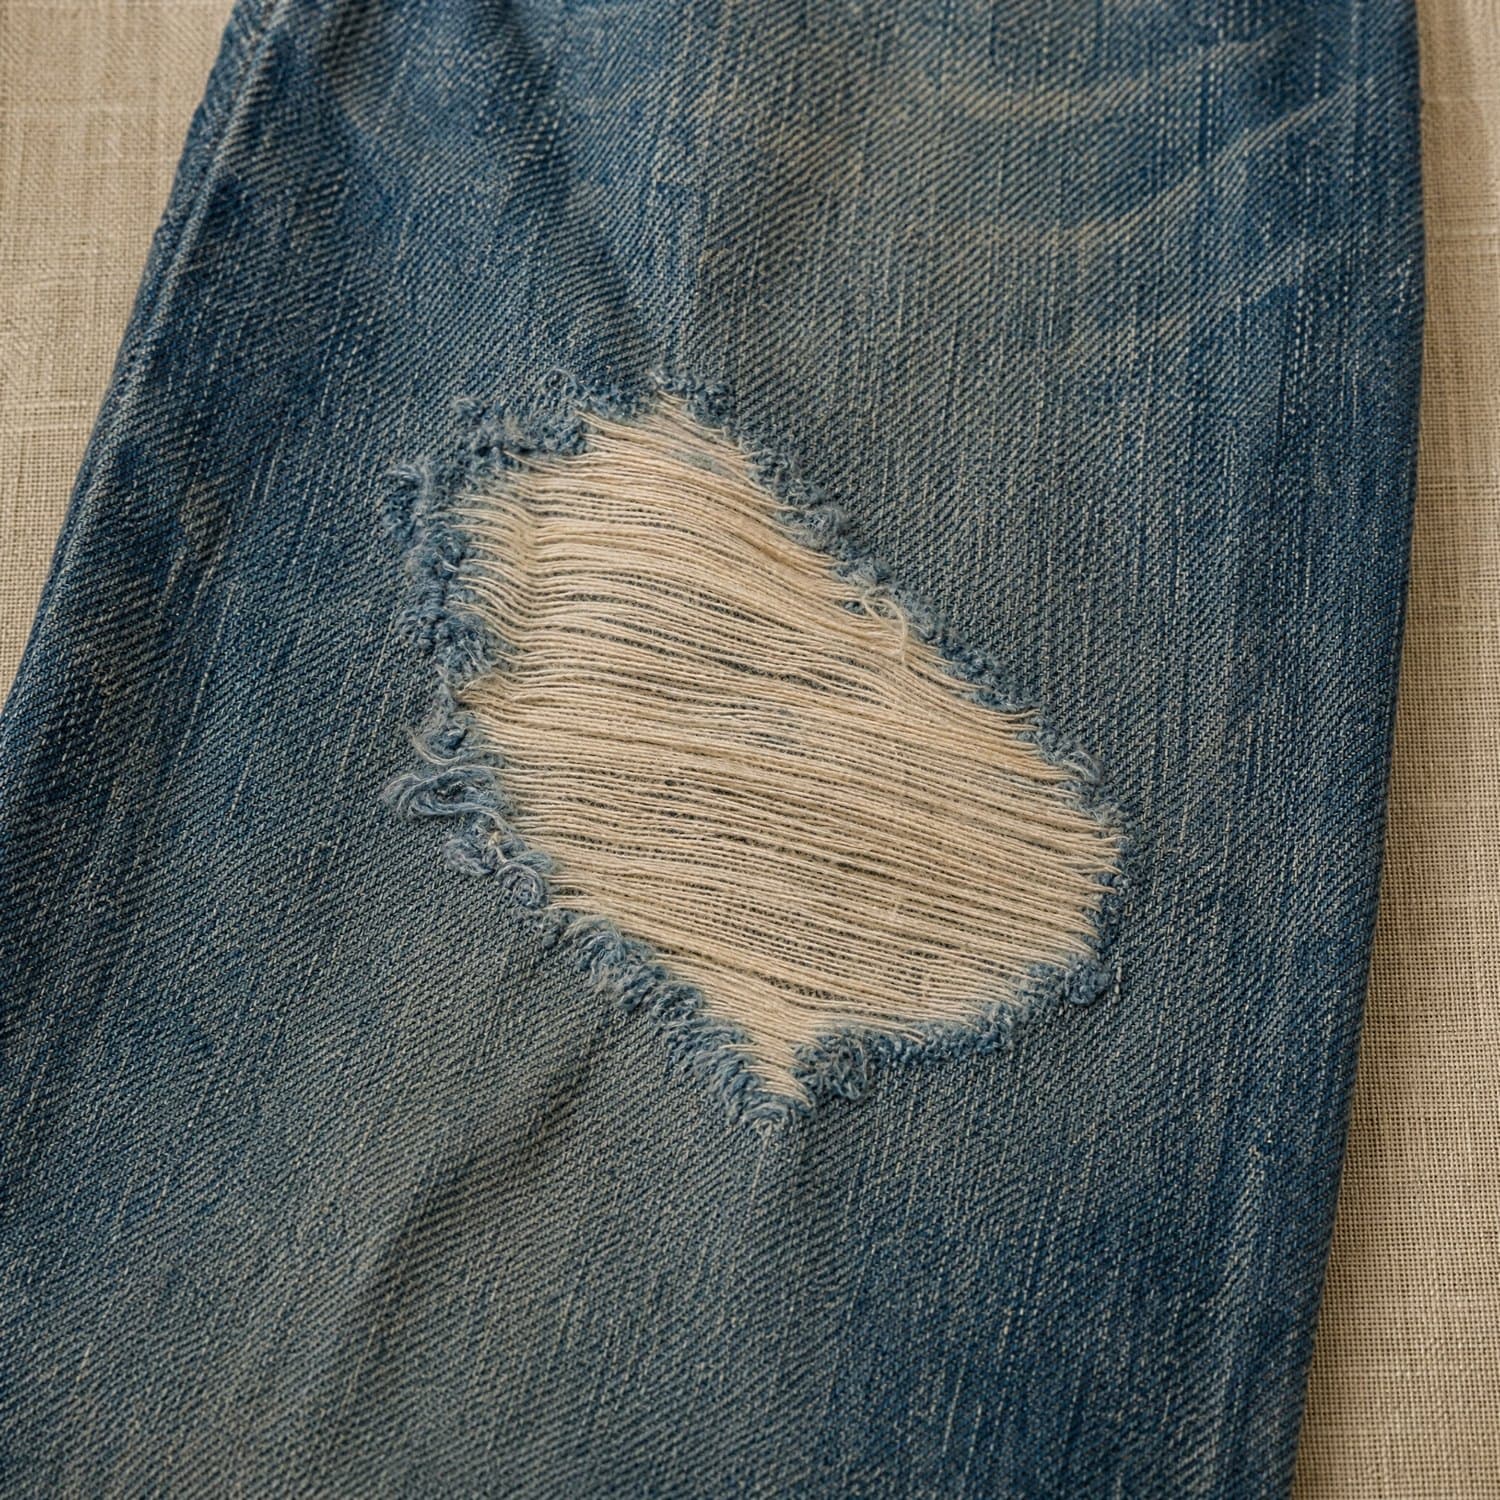
Wear
Thinning that has not opened yet. The easiest to catch and the easiest to miss.
Plans
Three plans and nothing else. No credit packs, no top-ups, no stored balance.
The free plan answers whether it is worth repairing. The paid plan answers whether you can do it.
Free gets you the damage reading, all four repair previews, the stress-point map, and every word about risk and reversibility. What it does not get you is the sequence — the order the stitches go in, on your damage. That is the part no general tutorial covers, because no general tutorial is about your garment.
The watermark on the free plan sits on the picture and only on the picture. It never covers a risk note, a reversibility marker, or the notice about garments that cannot be replaced. Someone who reads only the free plan and then picks up a needle must still have seen all of it.
Prices in US Dollars (USD), all taxes included. Renews automatically until cancelled.
Free
$0always
No card, no renewal, nothing to cancel.
Enough to find out whether the thing is worth saving.
50 allowance a monthDoes not carry over. No top-ups.
- Damage reading from your photographs
- All four repair previews, side by side
- The stress-point map for the whole garment
- Every risk note, reversibility marker and limit — in full, never hidden
- Previews carry a watermark
- No step sequence videos
- One garment at a time, not kept
Stitch
Includes the sequences$11per month
US Dollars (USD), all taxes included. Renews every month at the same amount until you cancel.
For when you have chosen a method and need to see it made.
450 allowance a monthDoes not carry over. No top-ups.
- Everything in Free
- Step sequence videos for the method you choose
- Previews without a watermark
- A record of the garments you have worked on
- Allowance does not carry over between periods
Atelier
$32per month
US Dollars (USD), all taxes included. Renews every month at the same amount until you cancel.
For a wardrobe rather than a garment.
1700 allowance a monthDoes not carry over. No top-ups.
- Everything in Stitch
- Multiple garments kept as an archive
- Side-by-side comparison across methods and garments
- Priority in the generation queue
- Allowance does not carry over between periods
What draws on the allowance
- A question answered about your garment1
- Reading the damage from your photographs2
- The four previews and the stress-point map5
- A step sequence video for one chosen method50
Terms of the allowance
- The monthly allowance is a usage allowance for this service and nothing else.
- It is not money, not a stored balance and not a voucher. It has no cash value.
- It cannot be refunded, exchanged, redeemed or transferred to anyone.
- It does not carry over. Whatever is unused at the end of a period is gone.
- There is no way to buy extra allowance. If you need more, you move to a larger plan.
Cancel in one step from your billing page. No reason asked, nothing offered to keep you.
Full terms and checkoutQuestions
The two most awkward ones are first, and both are answered no.
No, and we will not tell you otherwise. What you see is an illustration of an approach, generated from your photographs — it is not a photograph of your finished garment, and it never can be. The result you get depends on your hand, the thread you use and the real condition of the fibres, and this service knows none of those things. Every preview carries that statement burnt into the image itself, on every plan, and it cannot be turned off.
That is a real outcome and it is yours. Darning and stitched reinforcement can be picked out and started again. Patching and visible mending cannot be undone cleanly — an adhesive patch in particular puts glue into the weave permanently. Each method is marked with whether it can be undone, using a shape and a word rather than a colour, and each one states what a failed attempt actually leaves you with. Read those before you decide, not after.
Because some things cannot be replaced. If what you describe is vintage, inherited, a wedding garment, leather, silk, embroidered, or something you have told us matters to you, we still show you the approaches and the risks — but the step sequence video is closed, and we say plainly that you should see a professional before doing anything yourself. A failed repair on an irreplaceable garment is the one outcome nobody can fix afterwards.
It is a reading of a photograph, which is a limited thing. The service can usually tell a hole from a tear from a split seam, and can see the weave direction and roughly where a garment is stressed. It cannot see how brittle the yarn is, how far thinning extends beyond what is visible, or what a blended cloth actually contains. Everything it cannot know is listed next to every result rather than buried, and you should treat all of it as a starting point for your own look at the garment in your hands.
09 — Start
The thing is already broken.
Looking at what could be done about it costs nothing, needs no account, and does not commit you to picking up a needle.
Mendline does not carry out repairs, does not put you in touch with anyone who does, and does not quote a price. What you do next is entirely yours.